Table of Contents
In this article, you will learn how to create an email signature in the cPanel webmail client. To create a signature in Roundcube or Horde there are two different methods as these are separate webmail clients.
Accessing Webmail
to access webmail please follow these steps:
- Login to your cPanel account.
- Click email accounts.
- Find the email account you would like to create a signature for.
- Press check email.
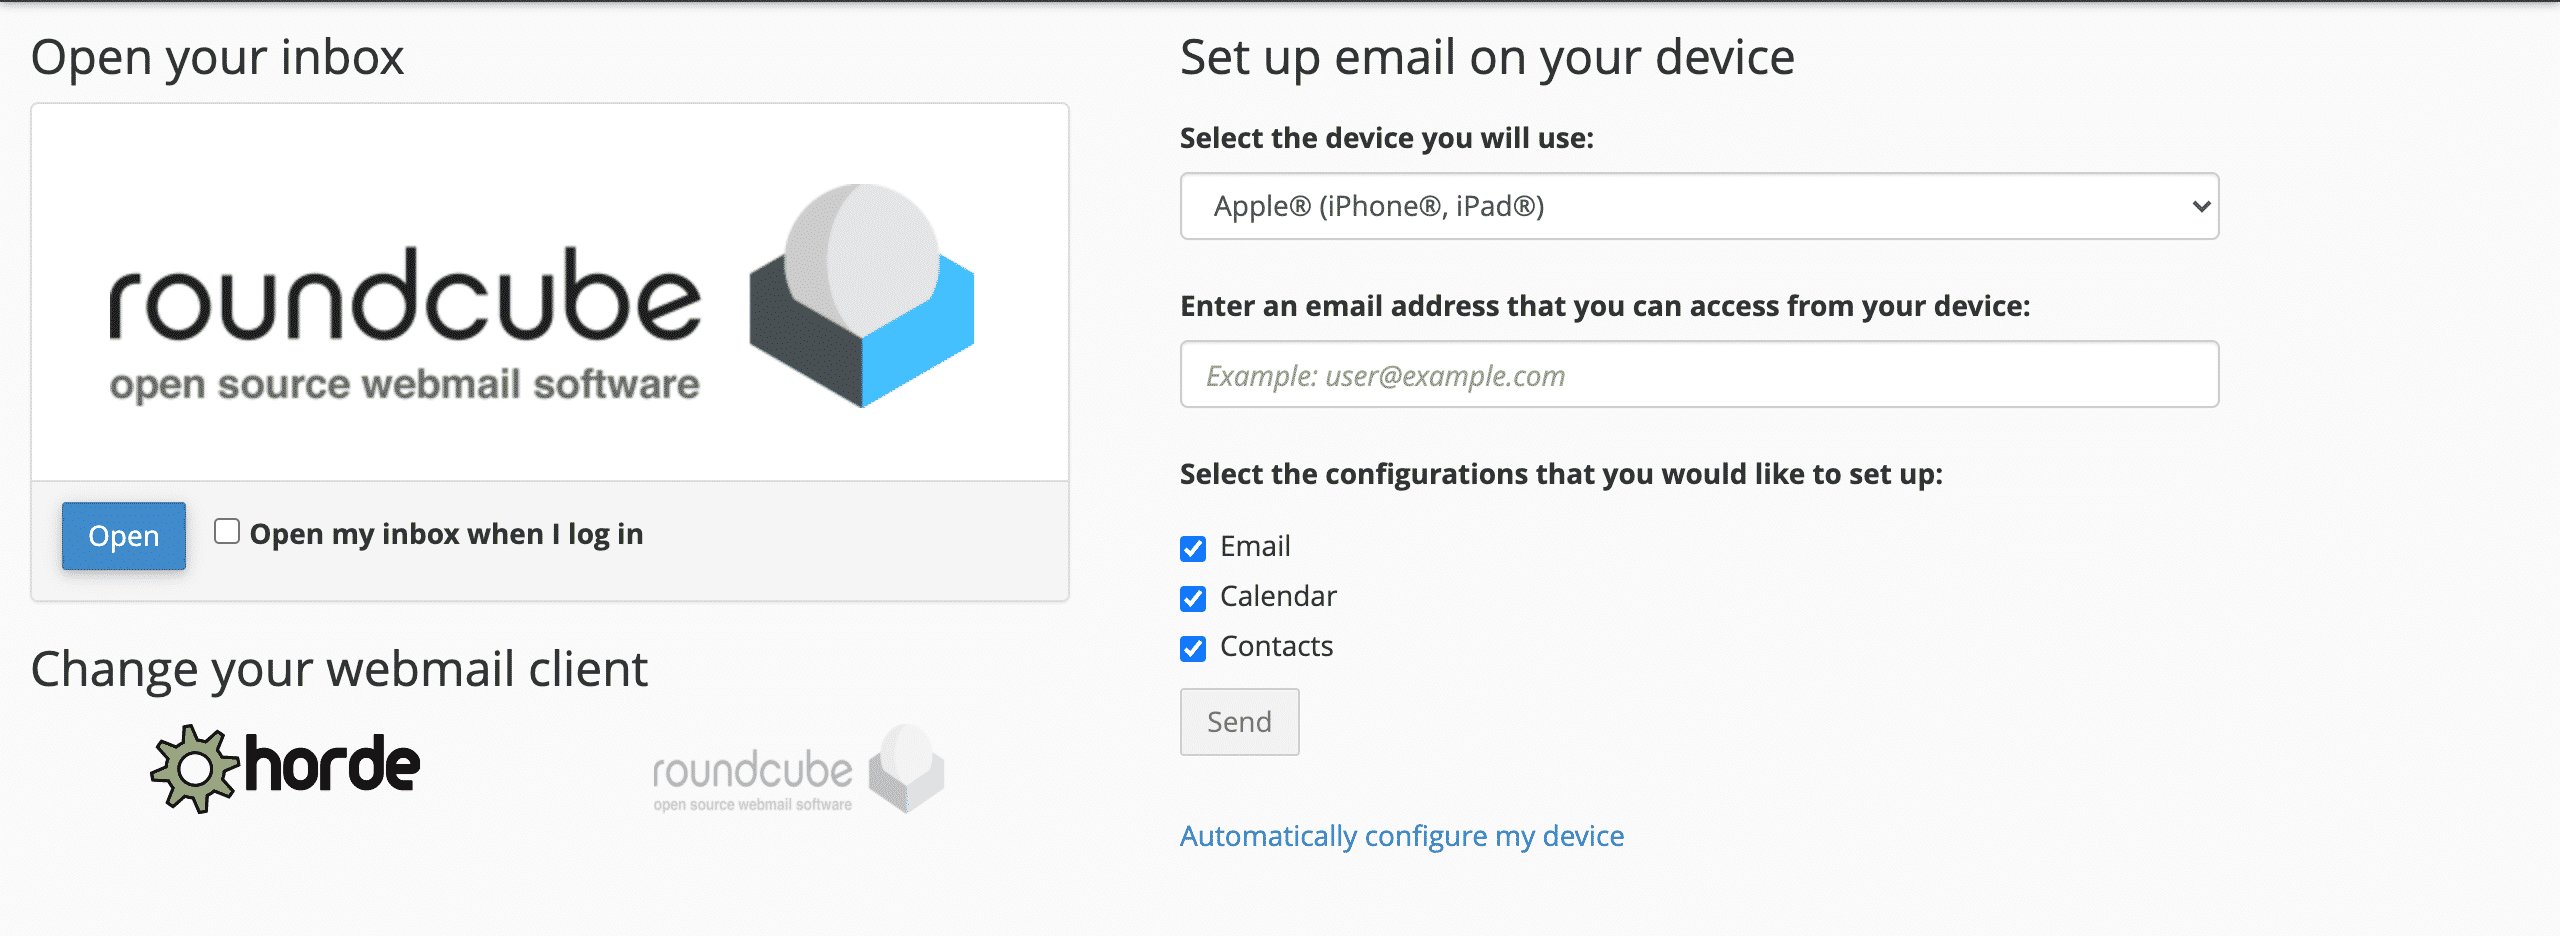
- Click the open button which will open your default email client.
- If you would like to use an alternative one press Roundcube or horde in the change your webmail client.
- Press open.
Roundcube
To create an email signature in RoundCube follow these steps:
- Log in to Roundcube.
- Click on the cog on the left side.
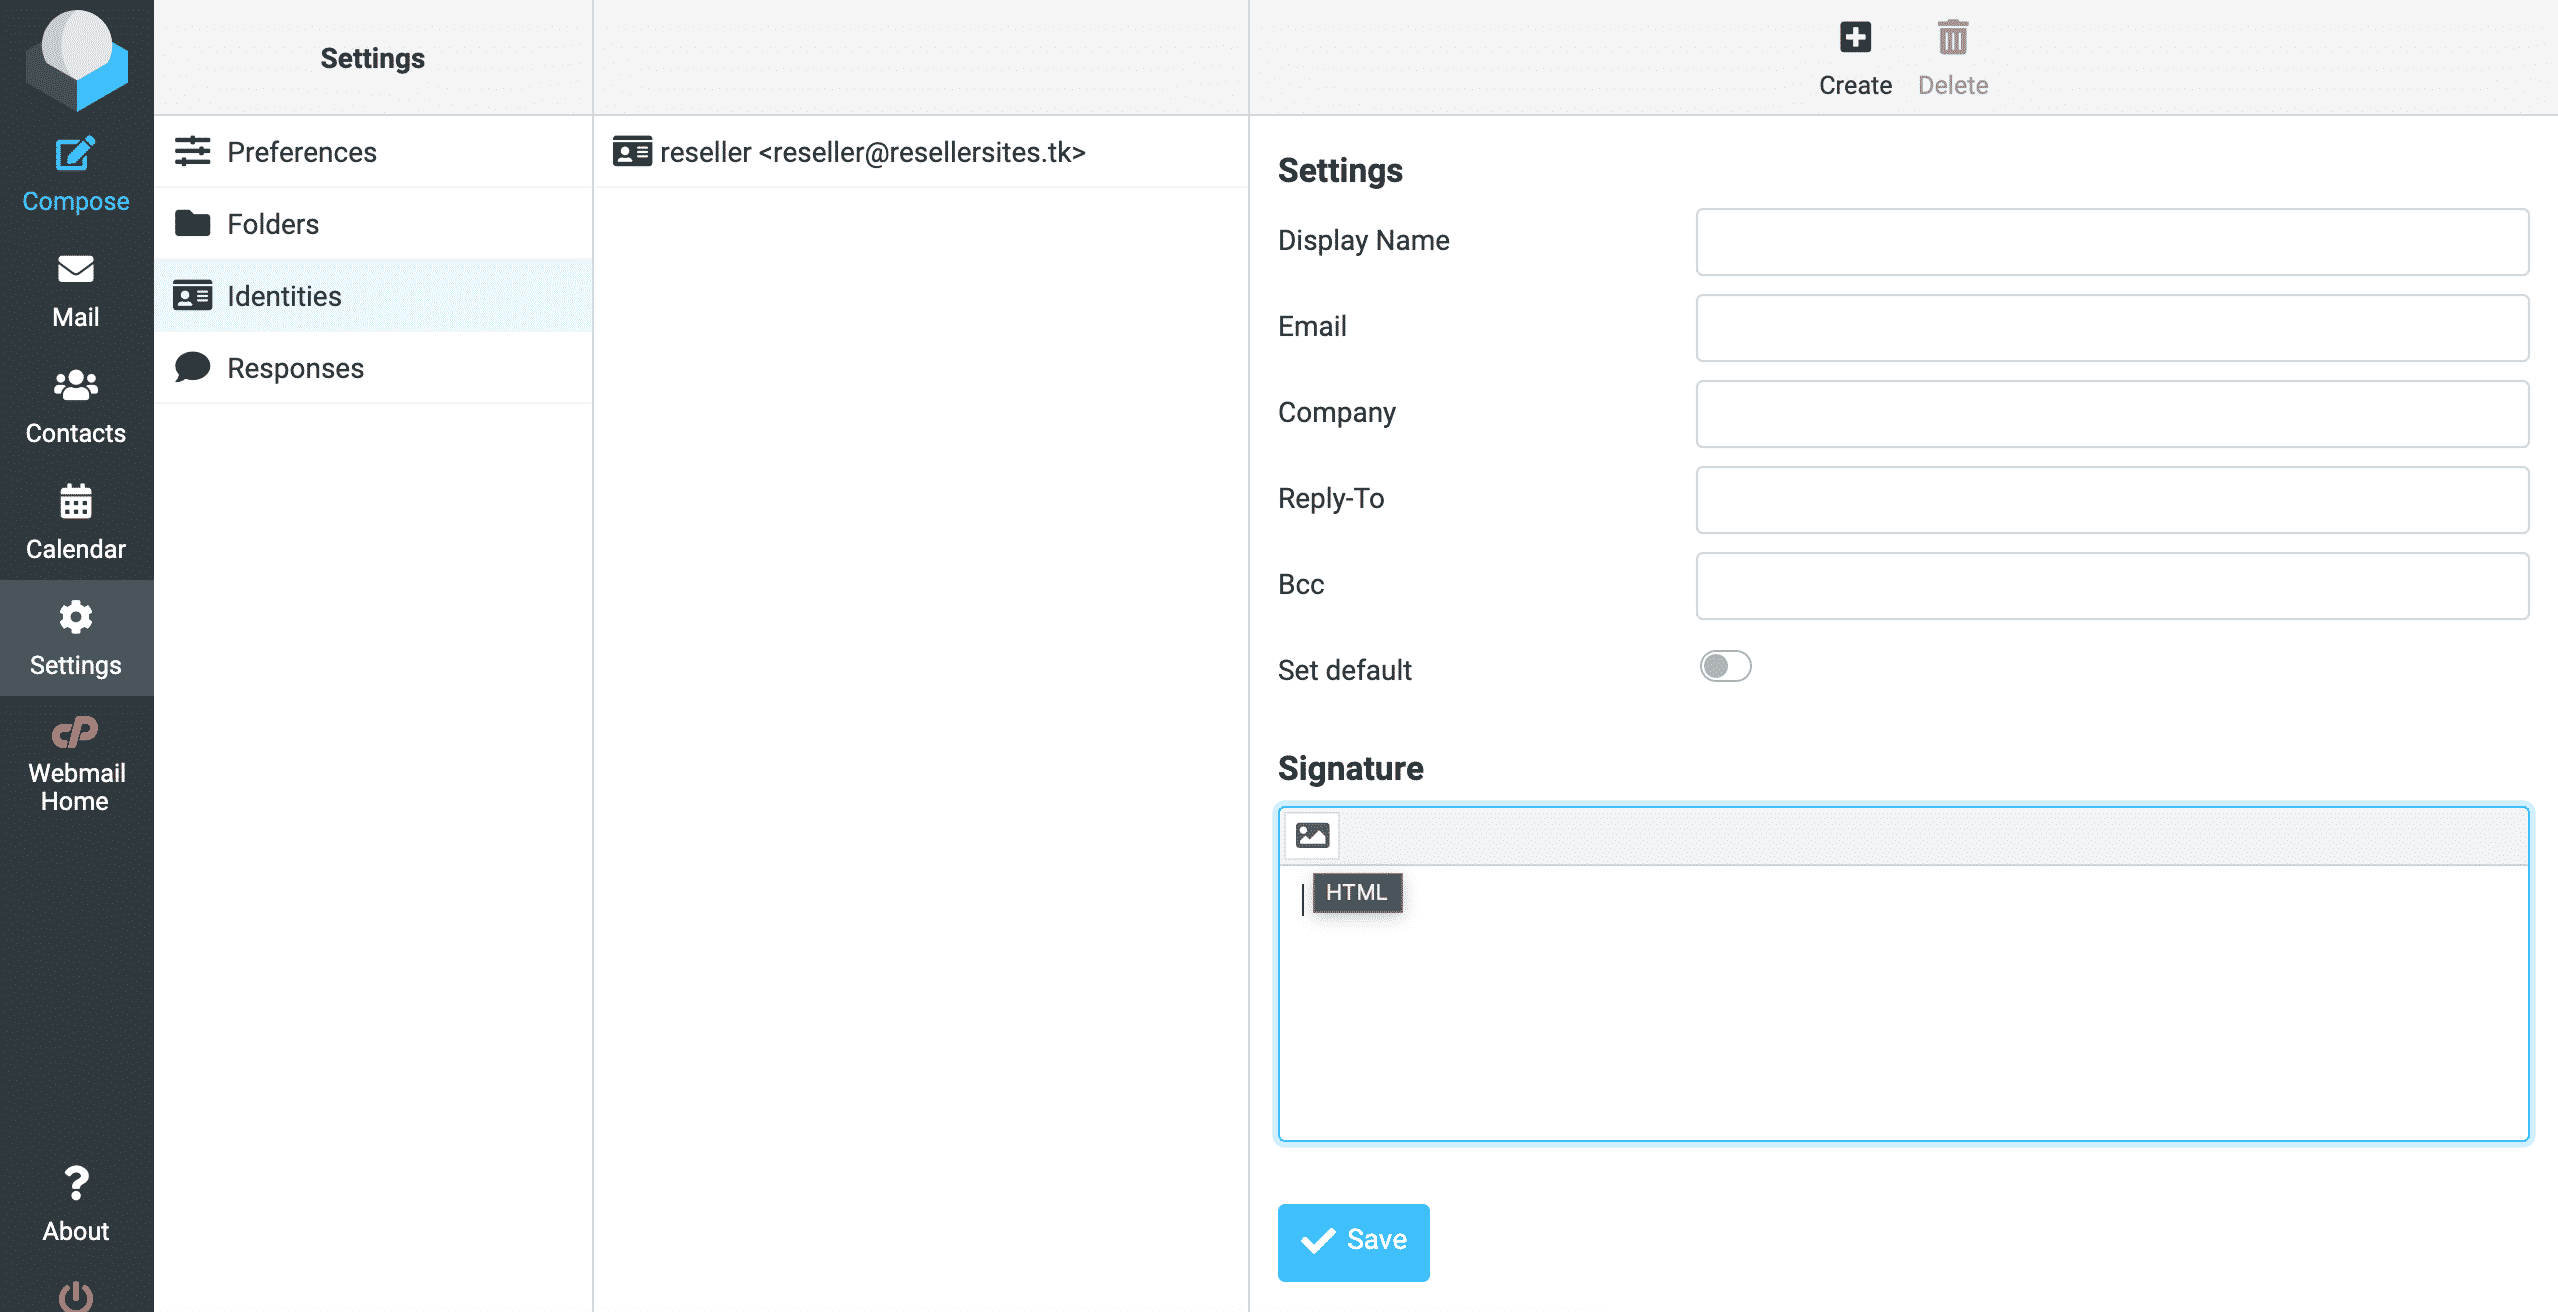
- Click Identities in the setting column.
- Press create located in the top-right.
- Type a name for your signature in Display Name.
- Enter the email address you would like to use the signature on.
- Click the set default slider (only if you would like this to be your default signature).
- Press the picture icon so you can customise the signature more.
- Create your signature.
- Press save.
Horde
Horde is available on our hosting plans with cPanel. To create or edit your email signature, follow these steps:
- Log in to Horde.
- Hover over the cogwheel located at the top right.
- Click > .
- Under the General column Click Personal Information.
- Where it says default, click the dropdown menu and press Create New Identity.
- Give your new signature a name in the identity’s name.
- Use the HTML editor for more options on your signature such as giving it colour.
- Press Save.

Facebook | Twitter | Instagram | Youtube | Vimeo | Blog | Knowledge Base | Client Area


